This only applies to the old series of MacBooks (the ones with the glowing Apple logo, i.e. 2015 and before).
Are you bored of apples?
Well, here’s an easy way to change the little glowing Apple logo on your Macbook!
Let me show you what I’ve done:
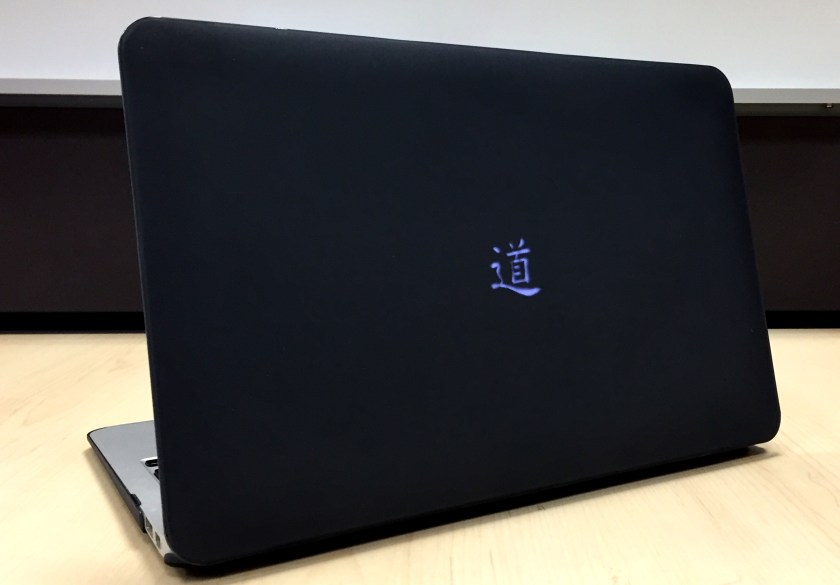
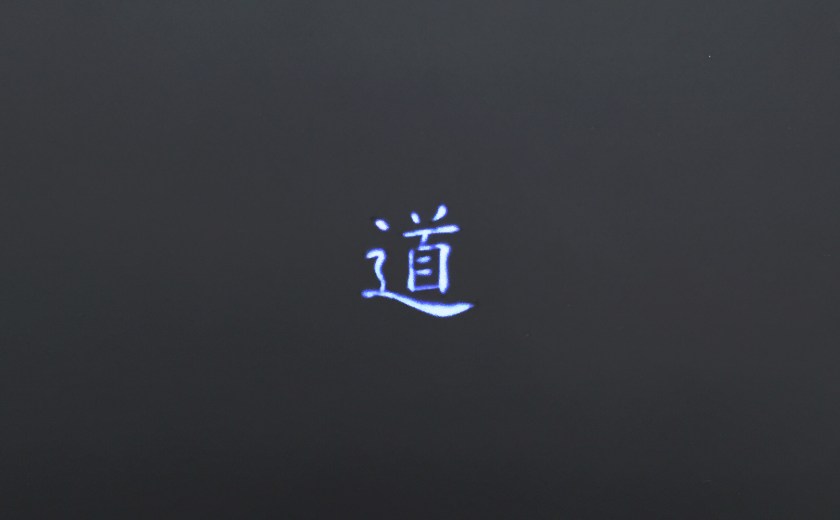
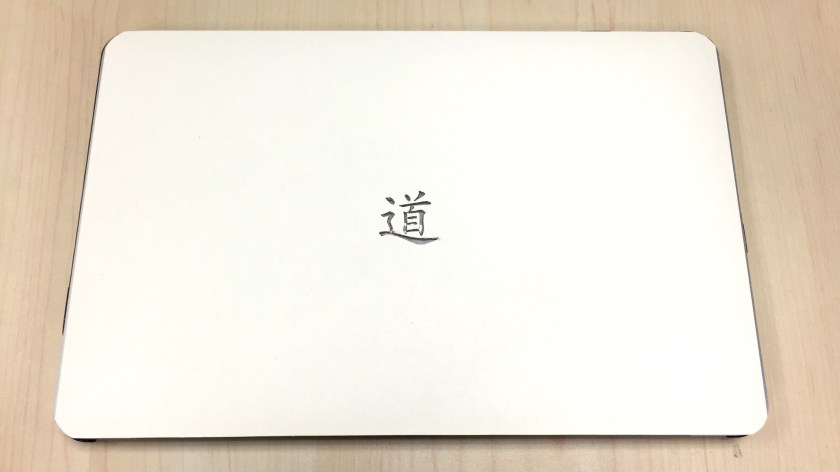
Here’s a close-up (with the glow):
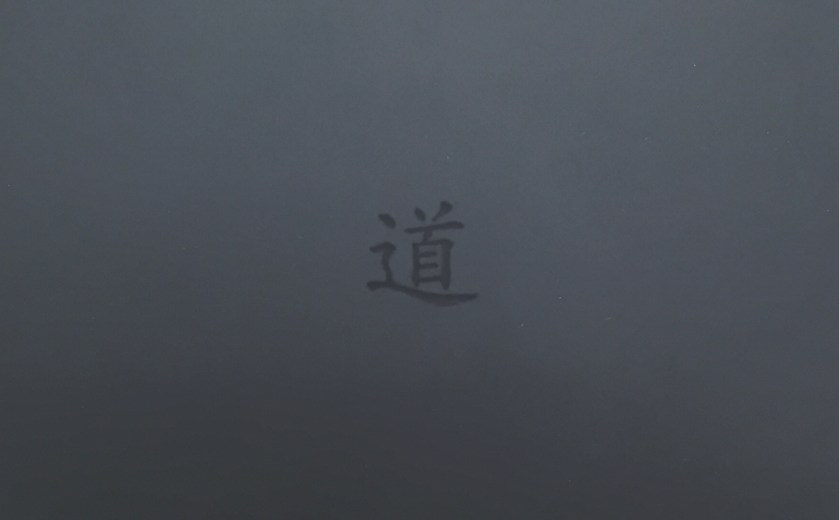
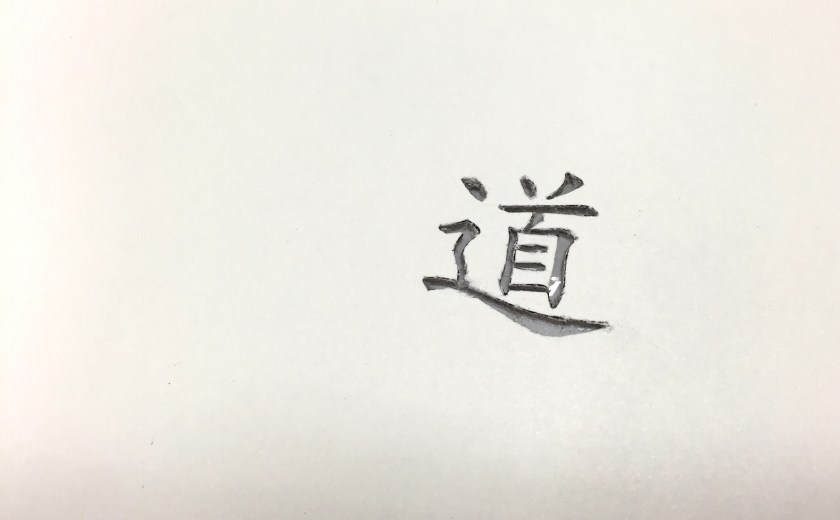
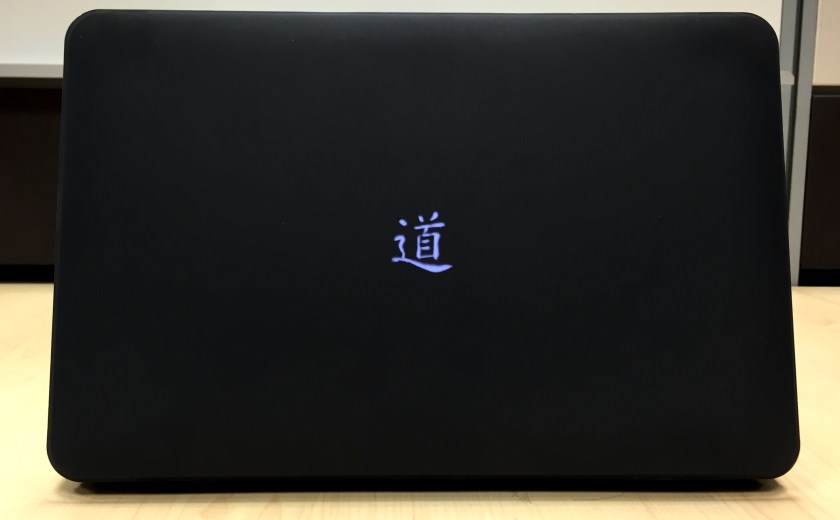
Another close-up (without the glow):
This isn’t the first time I’ve done such a mod. I did it once back in 2011 and used it for 3 years.
Out of boredom, I switched back to the original apple logo.
But once more, it was boredom that led me to change the logo again.
There aren’t that many designs out there with special meaning for me. So I returned to the Dao, since it is significant to me as a Chinese philosopher. The ancient Chinese thinkers were constantly searching for the Dao, and to make it known (illumine it) to the rest of the world.
Anyway, in this post, I will show you an easy way to change the glowing logo on your Macbook to something else.
What you need
1. A Macbook Pro or Air with a glowing Apple logo. You can’t do this if you got the newest Macbooks that don’t have a glowing apple.
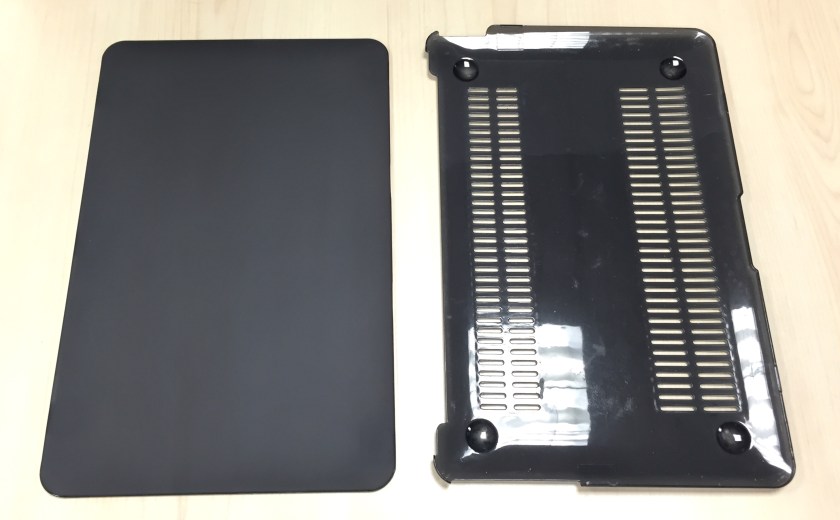
2. A hard shell casing for your Macbook (you can get it cheaply for about $20-30 at Sim Lim Square or Funan Centre). I recommend getting a dark colour as it can help to hide imperfections in cutting.
3. A piece of paper with your design printed on it. (More info about the paper and design below)
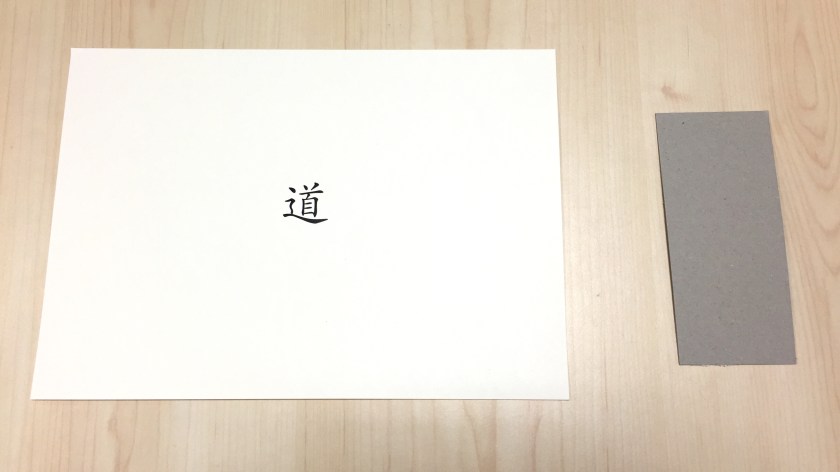
4. A small piece of thick card or very thin cardboard (about 4cm x 4cm), or any other material capable of blocking the light from the glowing Apple. Please test the material first by putting it against the Apple, and set your screen brightness to maximum. You know the material is suitable if light doesn’t shine through.
5. Glue
6. A pen knife
7. Clear tape
What to do
Step 1: You will need to print your (black and white) logo onto a piece of paper and trim the paper down to size.
The logo should be less than 3.4cm in diameter. We will be cutting out the bits coloured in black, so it is important to note that the black bits will be the parts that you want glowing.
Also, unless you are very very good at cutting with a pen knife, it is important to bear in mind that the more complex your logo, the more tedious (and possibly difficult) it will be to cut out the black bits later.
Paper size is a bit tricky.
If you have the 11″ Macbook Air, you are in luck! A4 paper is almost perfect in size. The paper’s length fits the length of the Macbook Air. You will, however, need to trim the breadth of the paper to fit the breadth of the Macbook Air.
If you are using any other size, you will need paper bigger than A4. You can print your logo on A3 paper, and trim it down to size.
When trimming the paper, Make sure that the logo is aligned with the Apple logo.
Step 2: Glue the thick card or thin cardboard onto the paper, just behind the logo.
Step 3: Using a pen knife, cut out all the black bits on your logo.
If parts of your logo isn’t connected to the rest of the cardboard you can keep it in place using clear tape, like this:
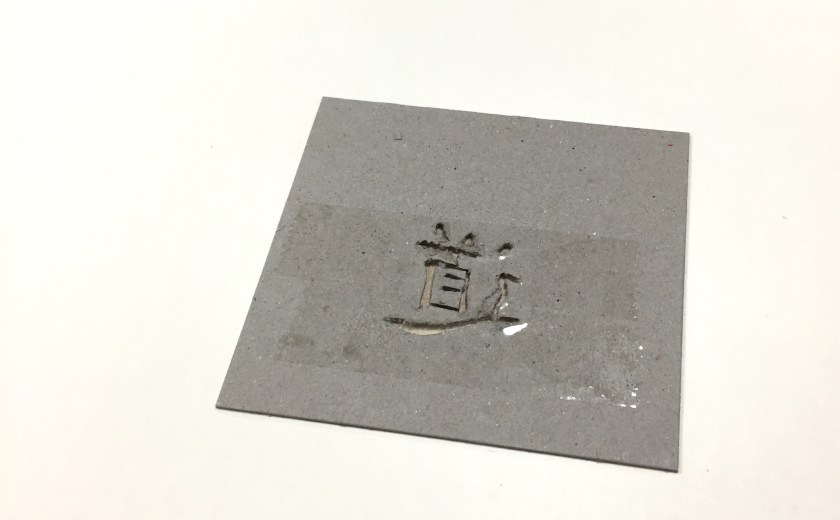
After cutting, your paper should now look like this:
Step 4: Next, you will need to round the corners.
Thankfully, the rounded corners don’t have to be perfect. It is hard to see the imperfections underneath a dark-coloured cover.
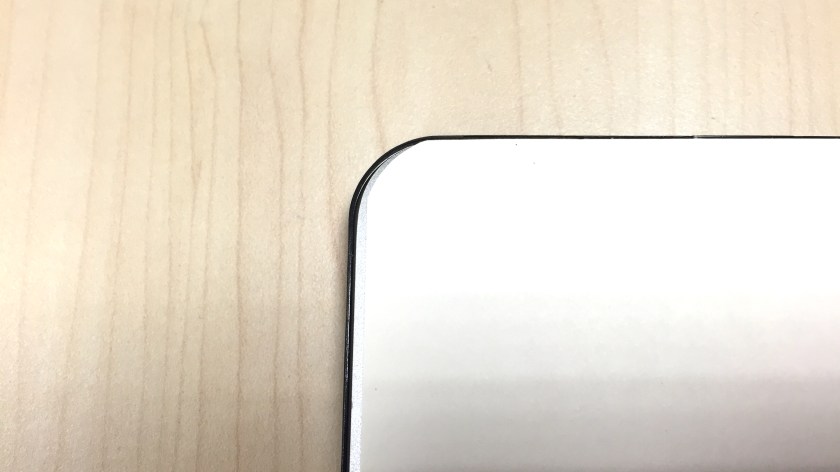
You can put the paper over your Macbook to see if the rounded corners align with your device.
There is no need to glue or stick the paper onto the Macbook. The hard cover will keep it firmly in place.
Step 5: Before putting on the cover, make sure your paper (and logo) is in the right side up.
Step 6: Install the cover onto your Macbook and you’re done!
Voila! Now you have a new glowing logo on your Macbook! No more apples!
The best part is, you can always change the logo in the future if you get bored with it.
Have fun!